
We moved to our new homestead on a snowy day a year and a half ago during a winter that my Dad referred to as “This is what I remember winter’s being like when I was a kid.” i.e. I think he was going for that, “We had it so bad we had to walk up hill both ways to get to school” kind of vibe! So once we got everything here we hunkered down and just tried to make it until spring!
Once the weather turned last year we focused on fencing ALL SUMMER LONG (a post on how we did our fencing to come soon!) Now we are looking into some smaller projects that just make our lives easier. The owners that lived here previously used the hog shed for of course, hogs! We are using it as a barn for the horses and chickens and therefore need to do some adjustments to make it more suitable for us. The main thing I wanted to change was getting from inside the barn to the pasture. The previous owners had a very heavy, large piece of wood that slid into slats blocking the doorway in-between the horses shelter and the rest of the barn where we store feed and hay. This large and heavy piece of wood was great for hogs but very difficult for me to give the boys their feed each night. It was easiest for me to go outside and access their pasture via the outside gate. This meant I had to leave Scarlett in the barn by herself and a 2 year old in the barn without visibility made me nervous! I couldn’t wait to make a swinging gate for this doorway!

Like I have mentioned before, my Dad has done construction for longer then I have been alive so I know the basics but I have always had him there to help guide me through projects so this was the first I have really done on my own from start to finish.
The first step I did was measure. I measured about 20 times and then cut once because I tend to get excited and get ahead of myself and have been known to cut things without accurately measuring. I liked the height of the heavy board they had because it blocked the giraffe necked horses from reaching around the corner and grabbing hay that was stacked there for winter. I did want to leave some room on the bottom for clearance of apples that accumulate from the horses during the winter because it was so dang cold that first winter there was no way we were going to get them cleaned out regularly. In total the height of the gate was mounted at 48″ tall but the gate itself was only 44″ in height, leaving a 4″ gap at the bottom for the apples.

I used 2″ x 6″ lumber. The lumberyard I got it from cut it to length for me which was 44″. I had to cut the width of the final piece so it would fit in the opening. I used a battery operated circular saw for all of the cutting I did. Next I lined up the pieces on saw horses and worked on the brace pieces. I wanted a classic and simple “Z” pattern. I again measured the top and bottom pieces very carefully and cut the boards to length. I screwed these in place using deck screws, that is what my local hardware store suggested for this project. For the diagonal piece of the “Z” I just laid a board across the gate at the angle I wanted and marked where they met the top and bottom brace pieces. I then used my square to take that measurement across the width of the board so I would have an accurate guide to follow and cut those as well. Once I cut it I screwed this into place.

The next step was to take out the slats that held the heavy board into place, they were nailed to the 2″ x 4″ stud that outlined the doorway so it took a little elbow grease and a few choice words and those were out!
I then went onto installing the hardware for the gate, starting with the hinges. I was nervous about this step because I didn’t want to mess anything up. I got large hinges because this isn’t a lightweight gate! I screwed the hinges to the gate and then found various items to put under the gate to hold it in place 4″ above the floor to give me the clearance for any excrement that would accumulate from the horses. I then screwed the other side of the hinges to the 2″ x 4″ stud.

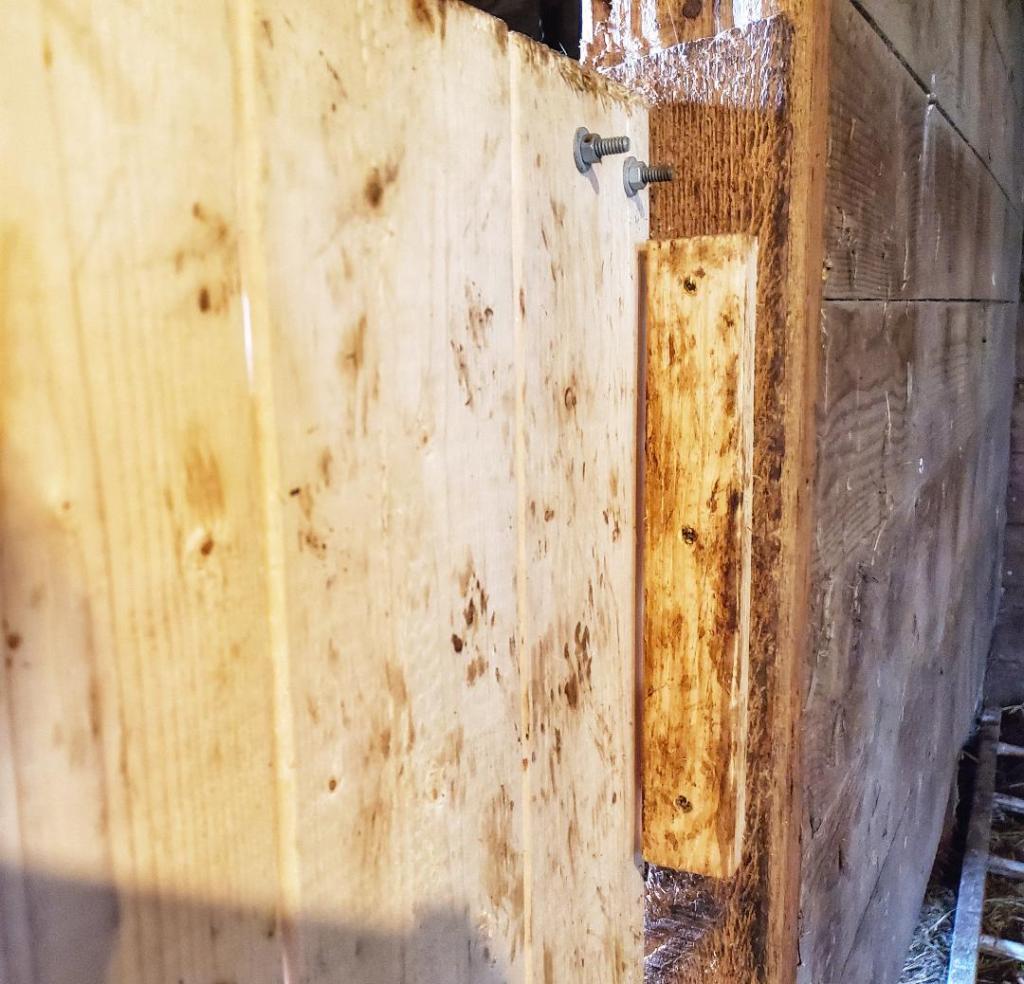
The next step was attaching the latch, I found a heavy duty latch at Home Depot, one that the horses could not manipulate with their mouths because they can be stinkers like that. I attached the latch to the gate using the accompanying hardware and then slid the latch out like I was locking the gate and fitted the accompanying latch piece and screwed it into place to the stud.

I ensured that my gate would swing into where the horses are because horses can be stinkers and lean on gates, especially my mom’s horse that lives with us, he is a total nuisance and loves this trick. To help with this I made a simple ‘stop’ with the piece of 2″ x 6″ I shaved off for the gate itself. I simply latched the gate into place where it would stop naturally and screwed this extra piece of wood to the stud behind it to offer more protection from naughty ponies leaning against the gate.
This simple project took a few hours one rainy Sunday afternoon, including beer breaks to let the battery charge for my power tools and it has made doing chores so much easier and safer because I don’t have to leave Scarlett in the barn for very long if she chooses not to come into the pasture to help me. Even Coby and my mom have commented how nice it is to simply walk through the gate and not have to traipse around outside and open the outside gate.

I hope this gives you some encouragement to tackle a project that will make your life easier as well. Please let me know what DIY projects you are wanting to tackle in the comments and we can offer each other motivation!

That’s a good looking gate. job well done.
LikeLike
Thank you for the encouragement, I am quite proud of it! I read some of your work and chuckled immensely, it sounds like you have a very interesting job!
LikeLike